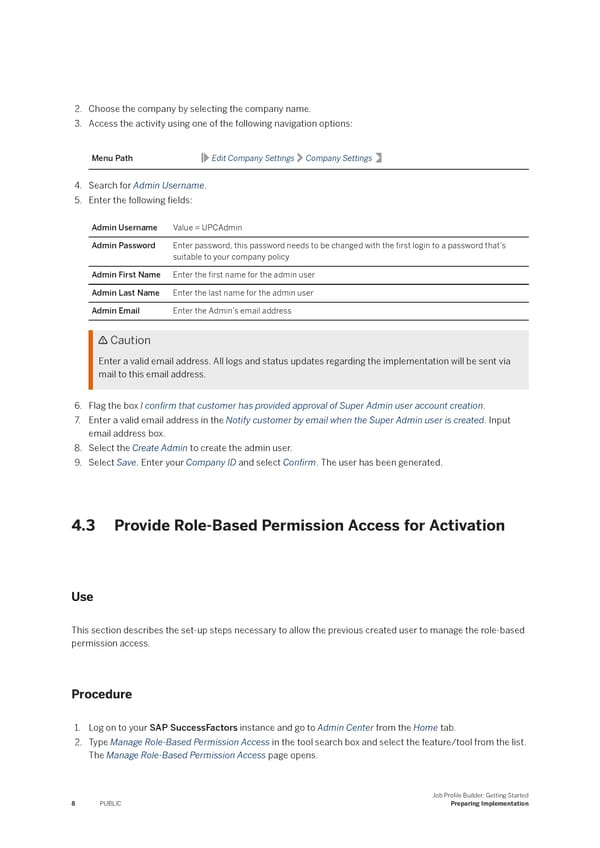
2. Choose the company by selecting the company name. 3. Access the activity using one of the following navigation options: Menu Path Edit Company Settings Company Settings 4. Search for Admin Username. 5. Enter the following 昀椀elds: Admin Username Value = UPCAdmin Admin Password Enter password, this password needs to be changed with the 昀椀rst login to a password that’s suitable to your company policy Admin First Name Enter the 昀椀rst name for the admin user Admin Last Name Enter the last name for the admin user Admin Email Enter the Admin’s email address Caution Enter a valid email address. All logs and status updates regarding the implementation will be sent via mail to this email address. 6. Flag the box I con昀椀rm that customer has provided approval of Super Admin user account creation. 7. Enter a valid email address in the Notify customer by email when the Super Admin user is created. Input email address box. 8. Select the Create Admin to create the admin user. 9. Select Save. Enter your Company ID and select Con昀椀rm. The user has been generated. 4.3 Provide Role-Based Permission Access for Activation Use This section describes the set-up steps necessary to allow the previous created user to manage the role-based permission access. Procedure 1. Log on to your SAP SuccessFactors instance and go to Admin Center from the Home tab. 2. Type Manage Role-Based Permission Access in the tool search box and select the feature/tool from the list. The Manage Role-Based Permission Access page opens. Job Pro昀椀le Builder: Getting Started Preparing Implementation 8 PUBLIC
 Job Profile Builder: Getting Started Page 7 Page 9